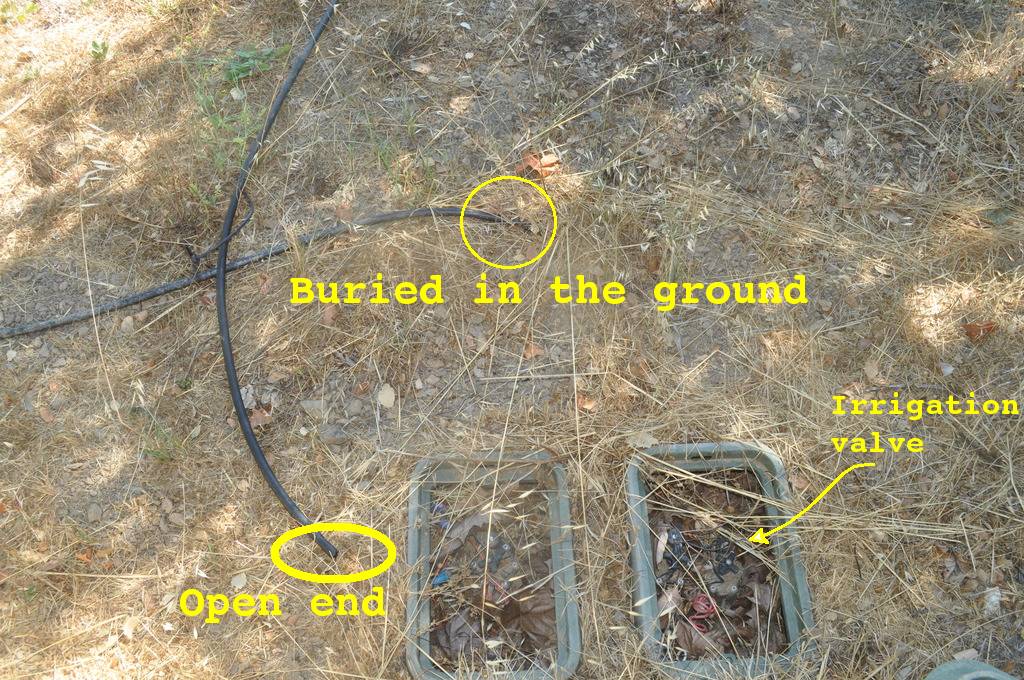
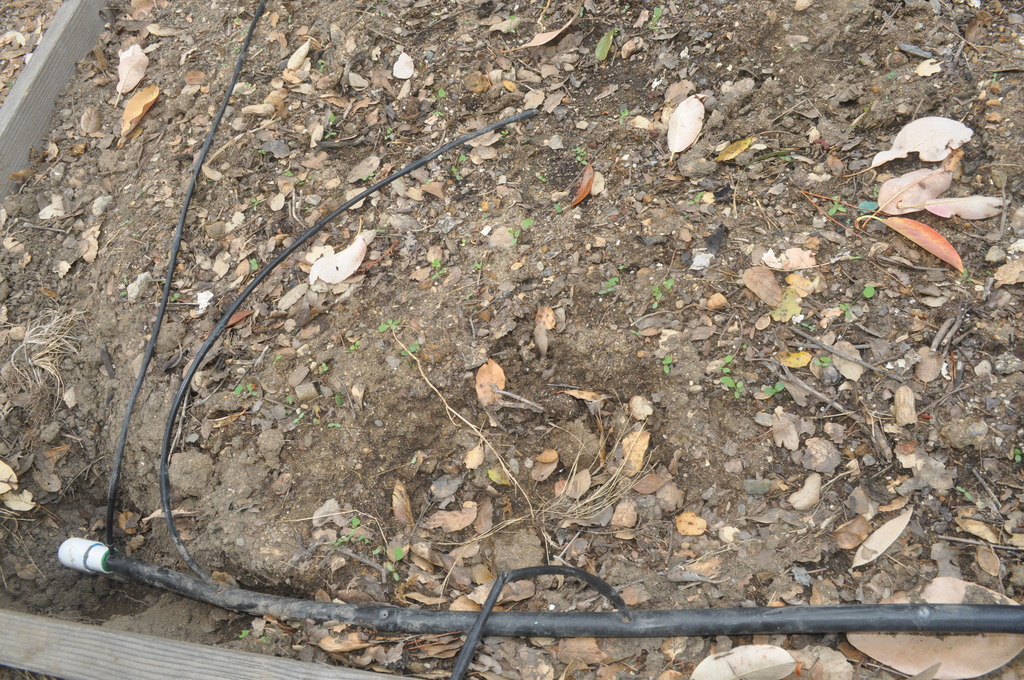
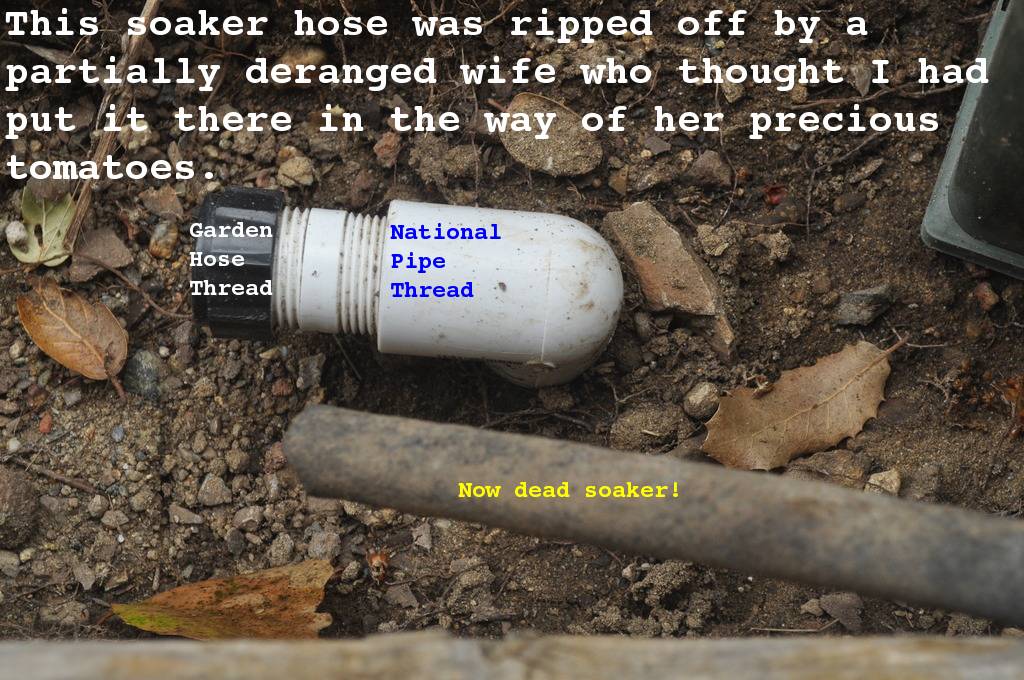
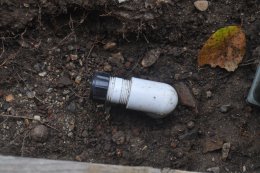
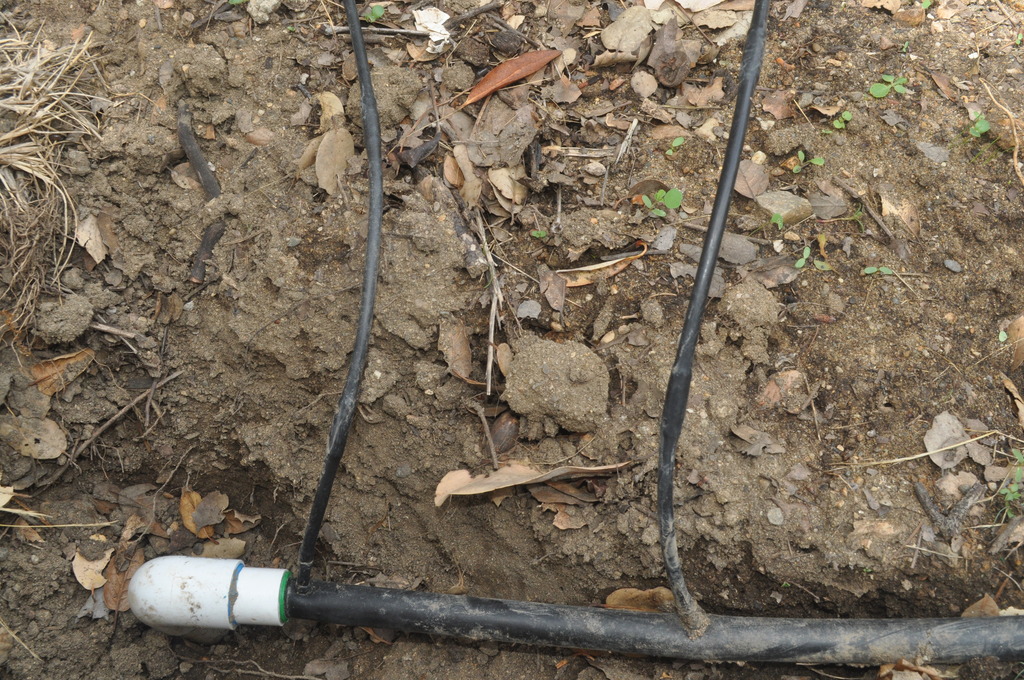
Post by Danny D.http://www5.picturepush.com/photo/a/13403753/img/13403753.jpg
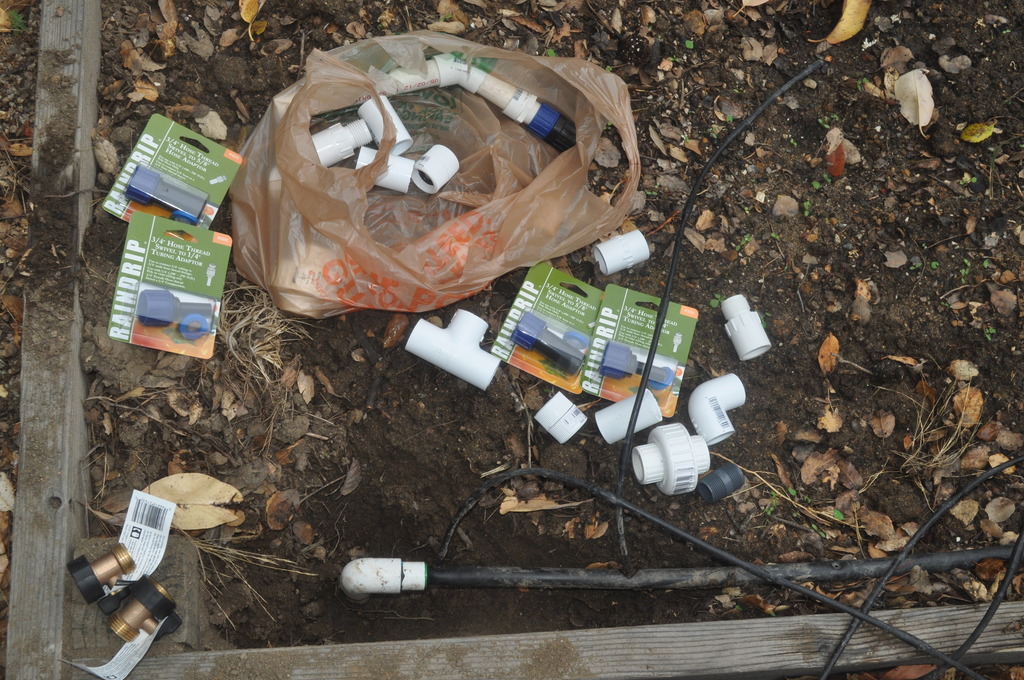
So I figured I'd replace it with something better. But what?
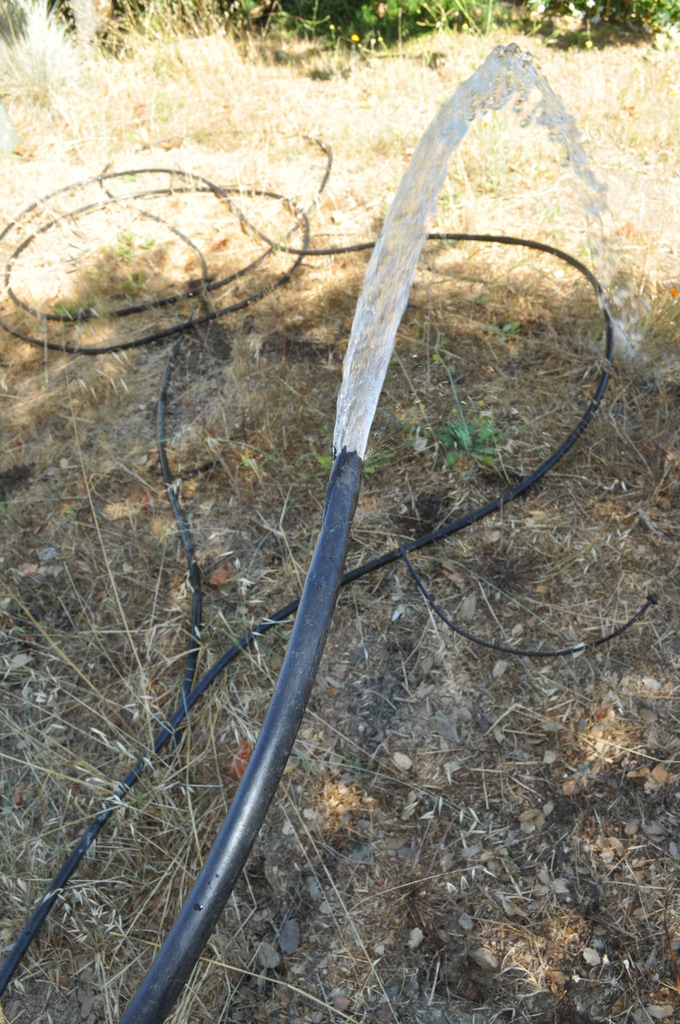
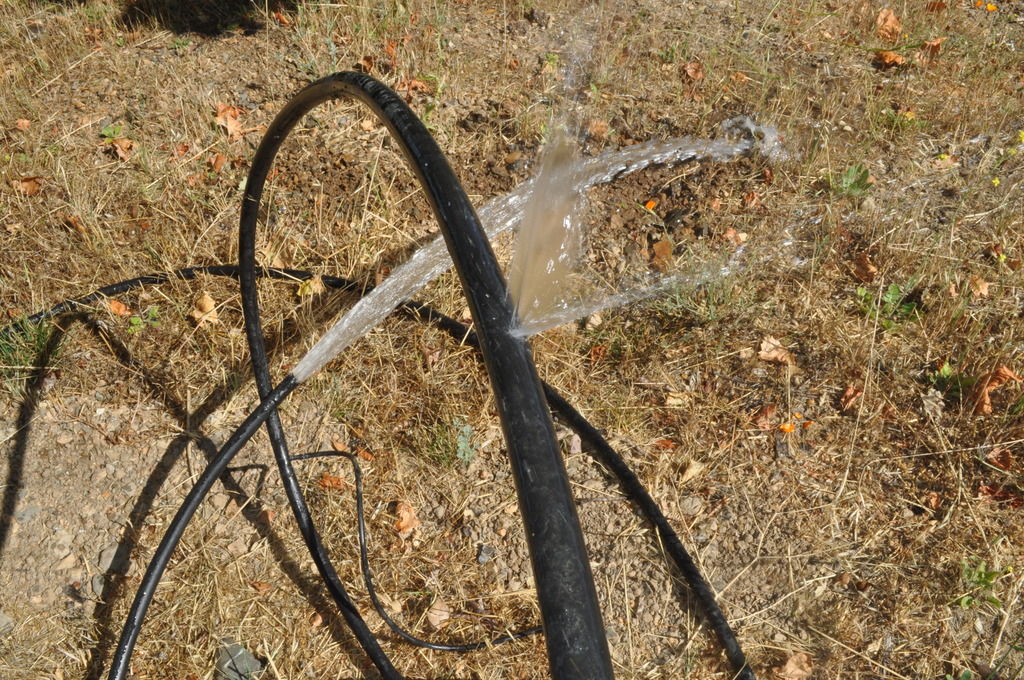
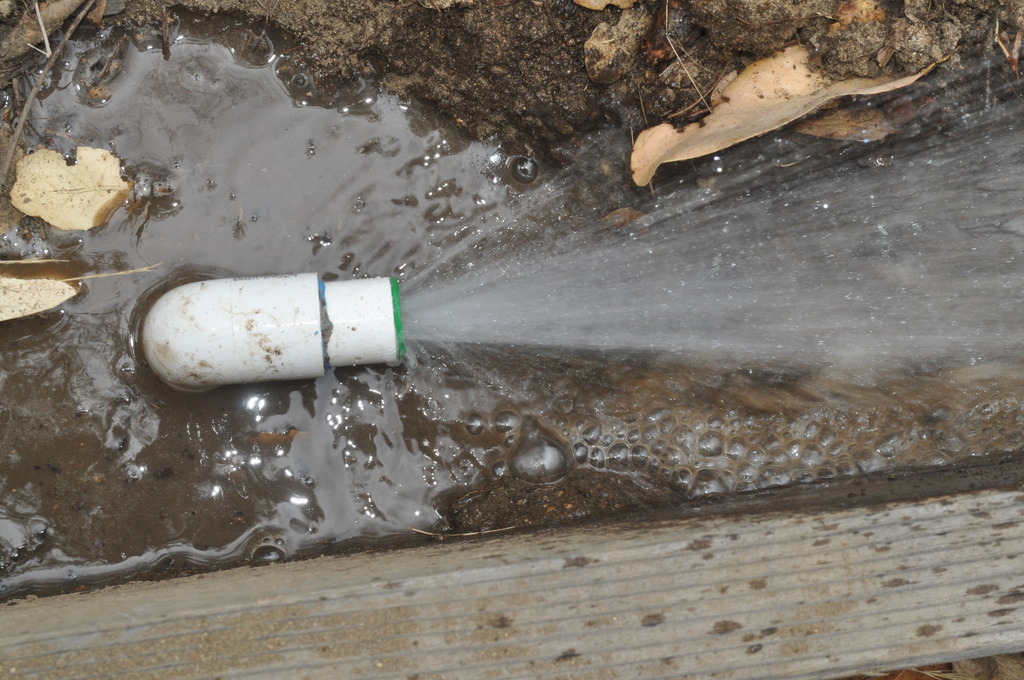
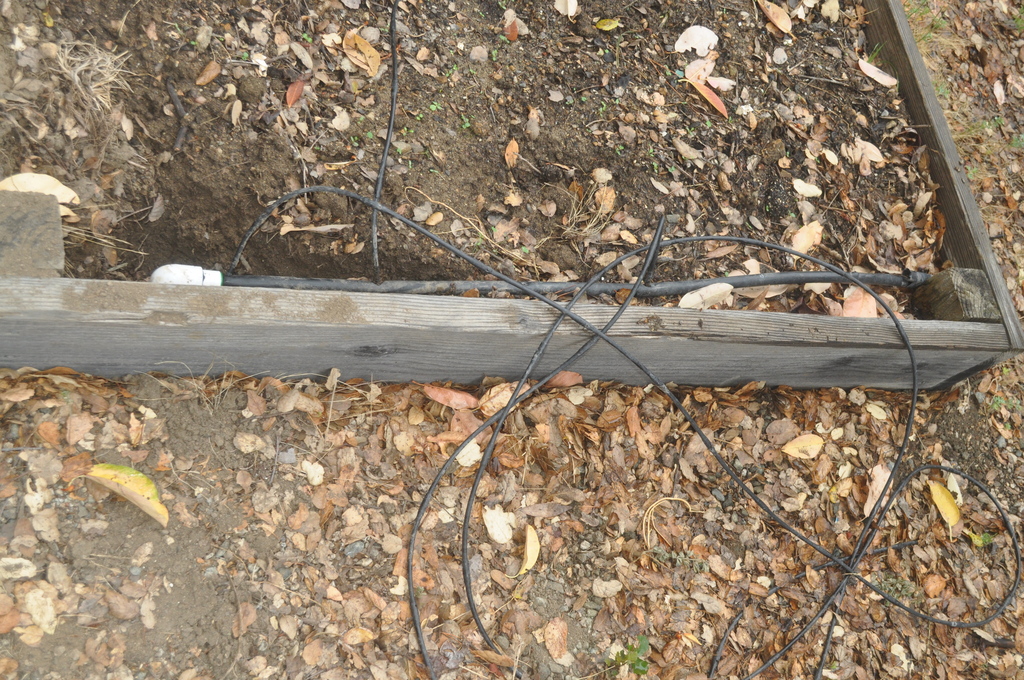
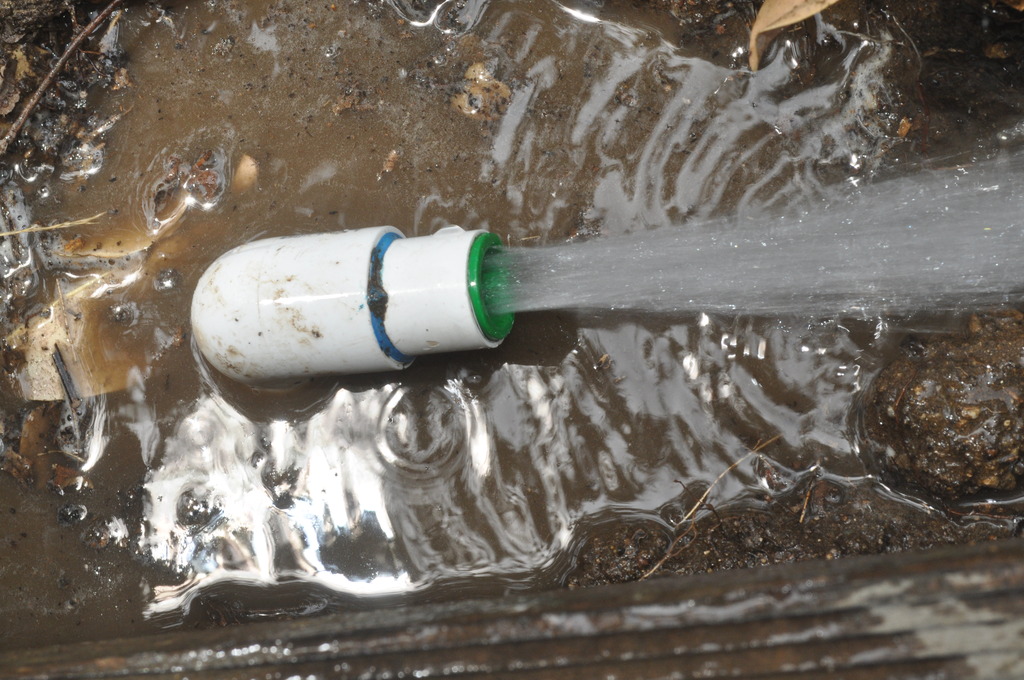
http://www2.picturepush.com/photo/a/13403755/img/13403755.jpg
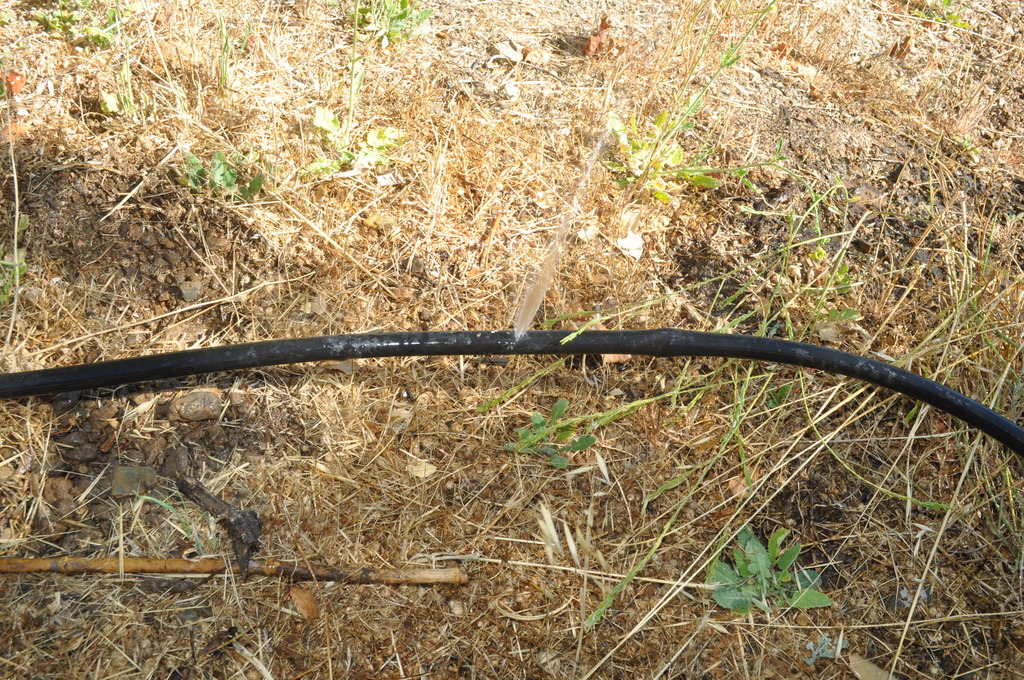
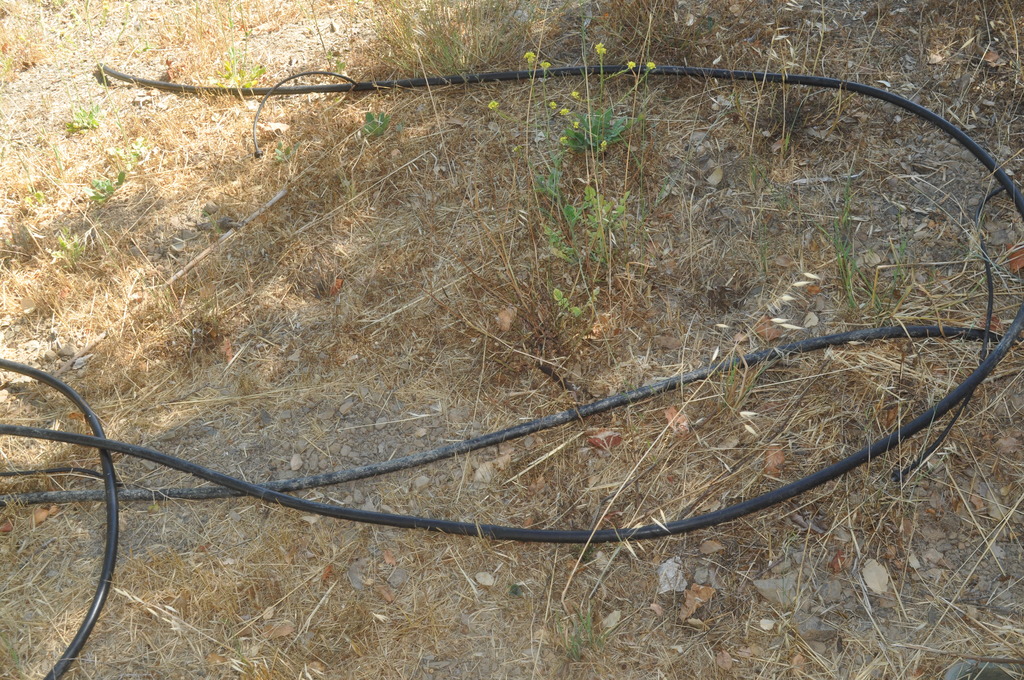
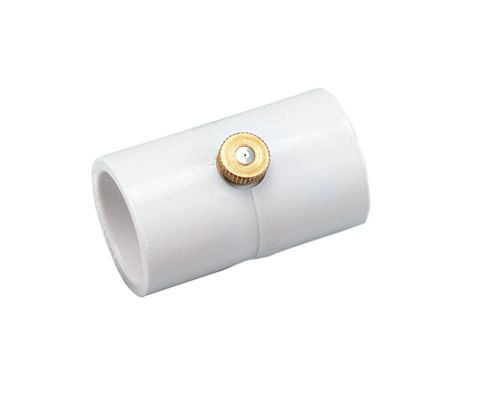
http://www1.picturepush.com/photo/a/13403754/img/13403754.jpg
I've never worked on drip irrigation before, so I picked up
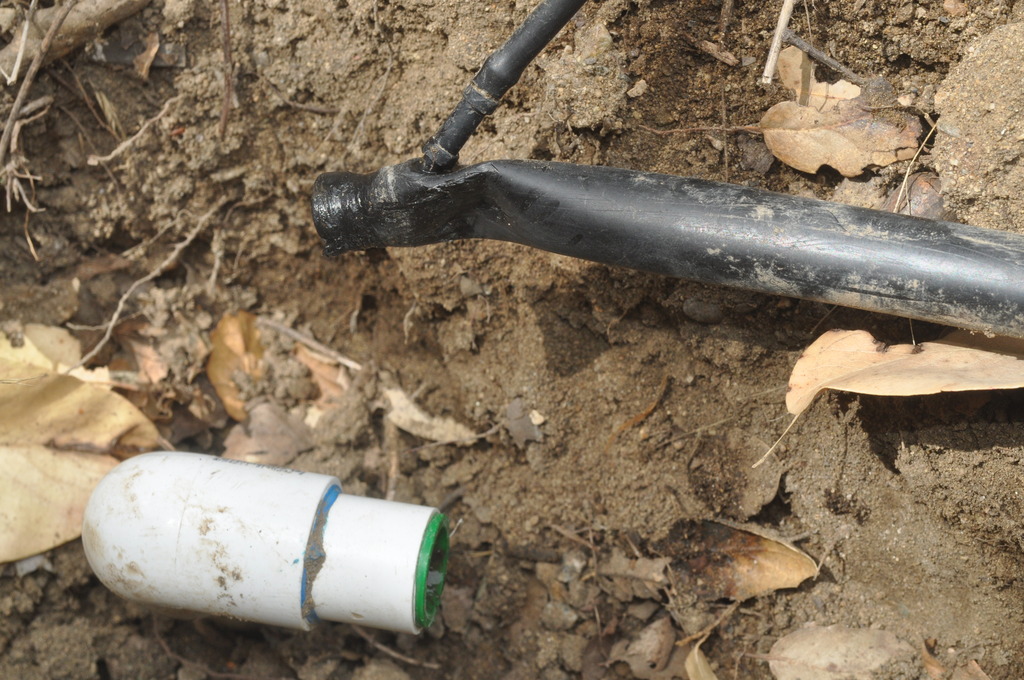
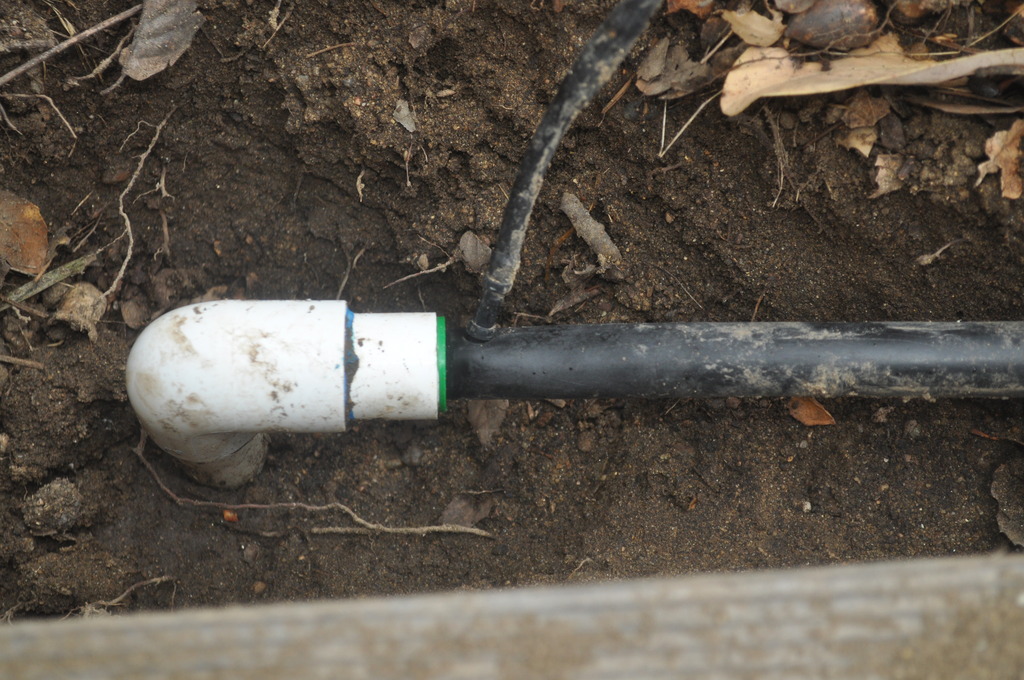
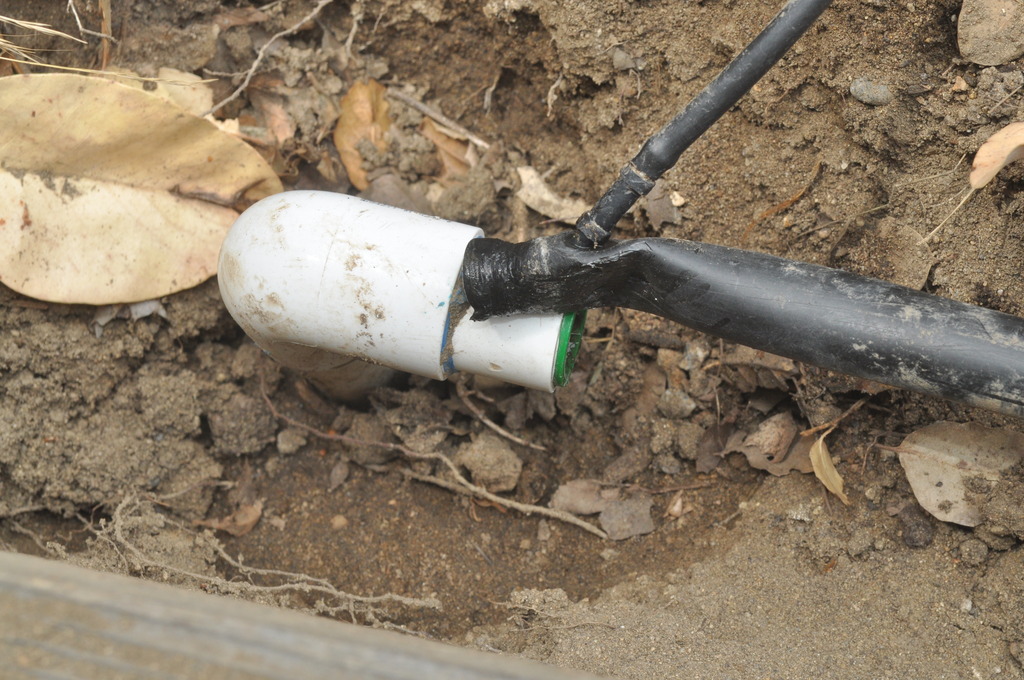
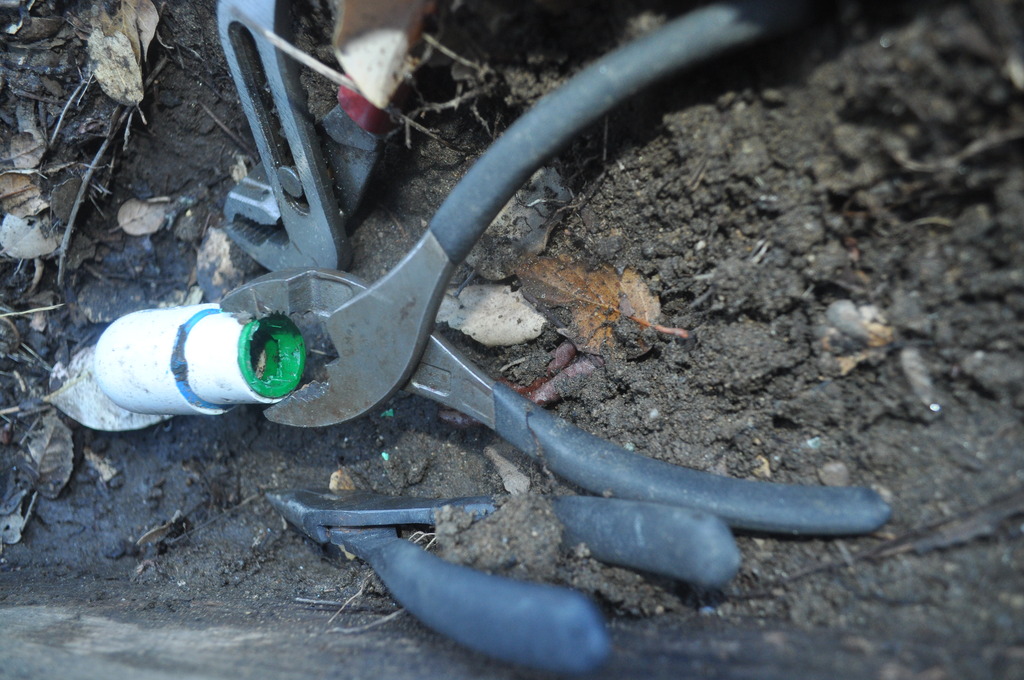
http://www1.picturepush.com/photo/a/13403764/img/13403764.jpg
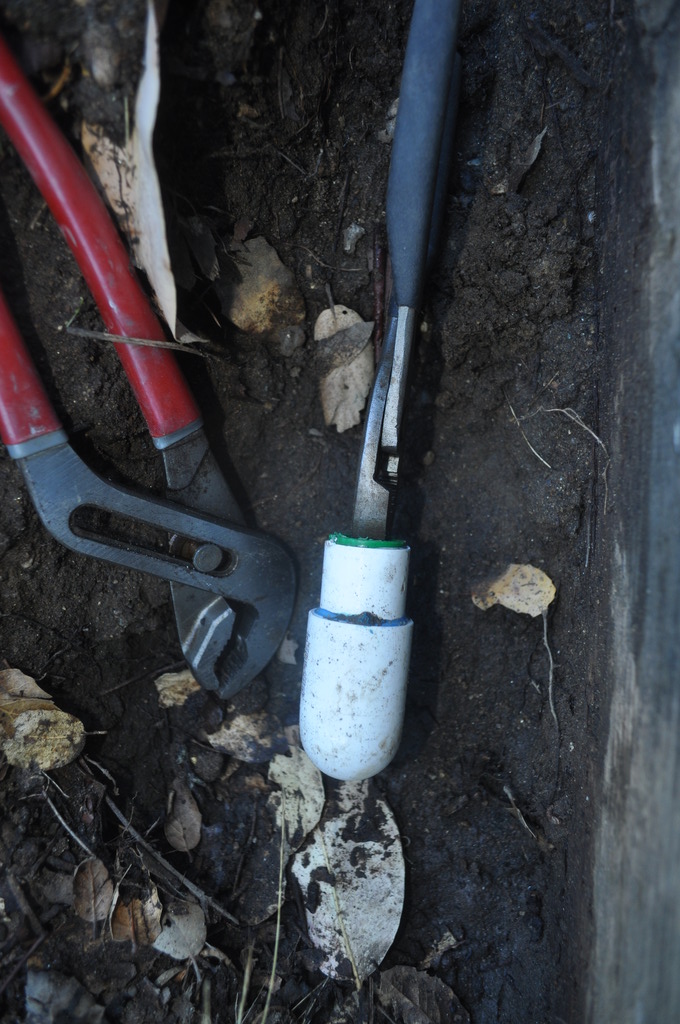
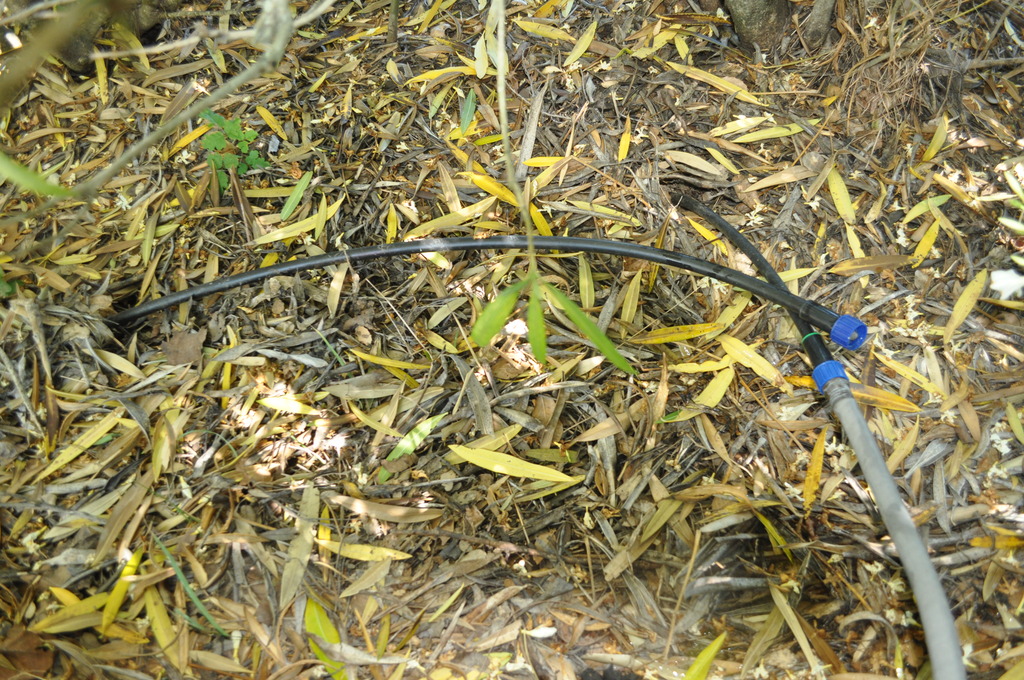
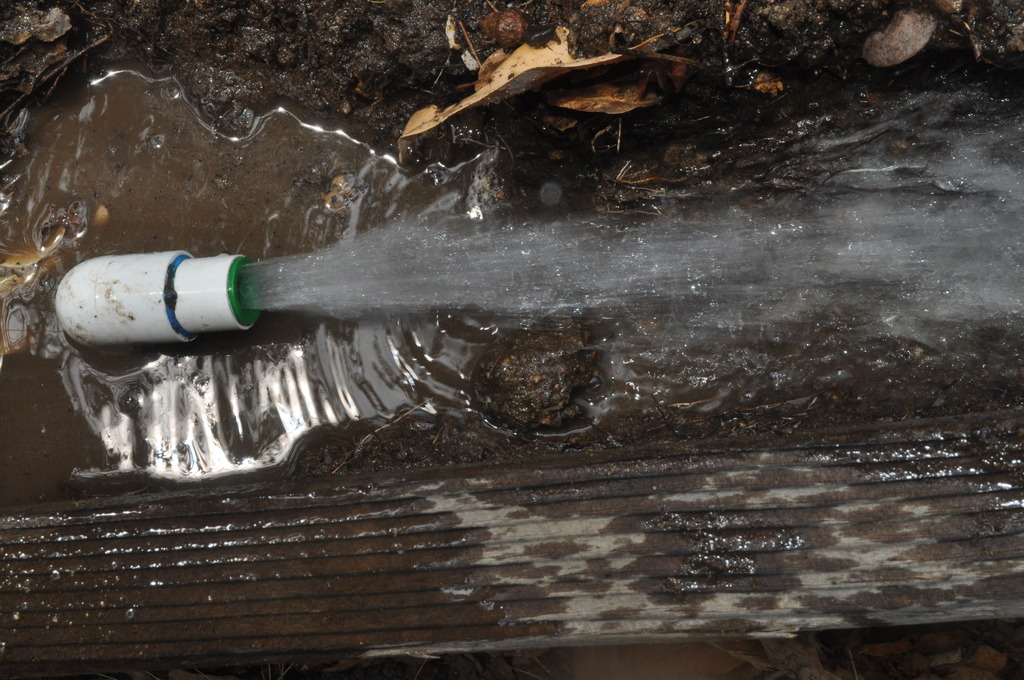
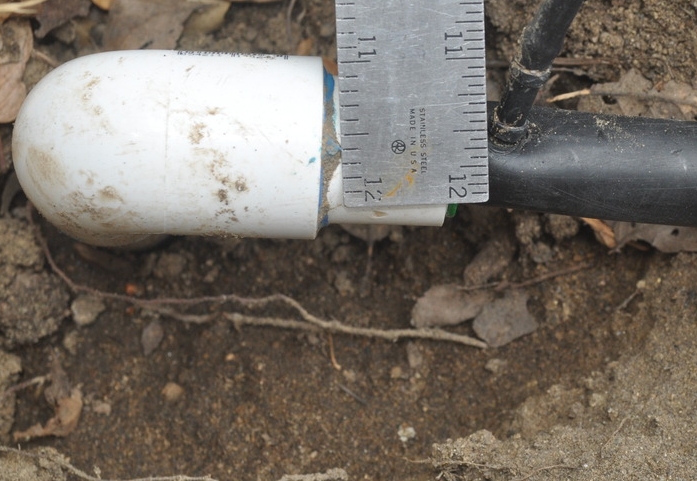
At Home Depot, the guy told me that it's normal for the drip lines
to simply push in, but this end seems to be really really stuck.
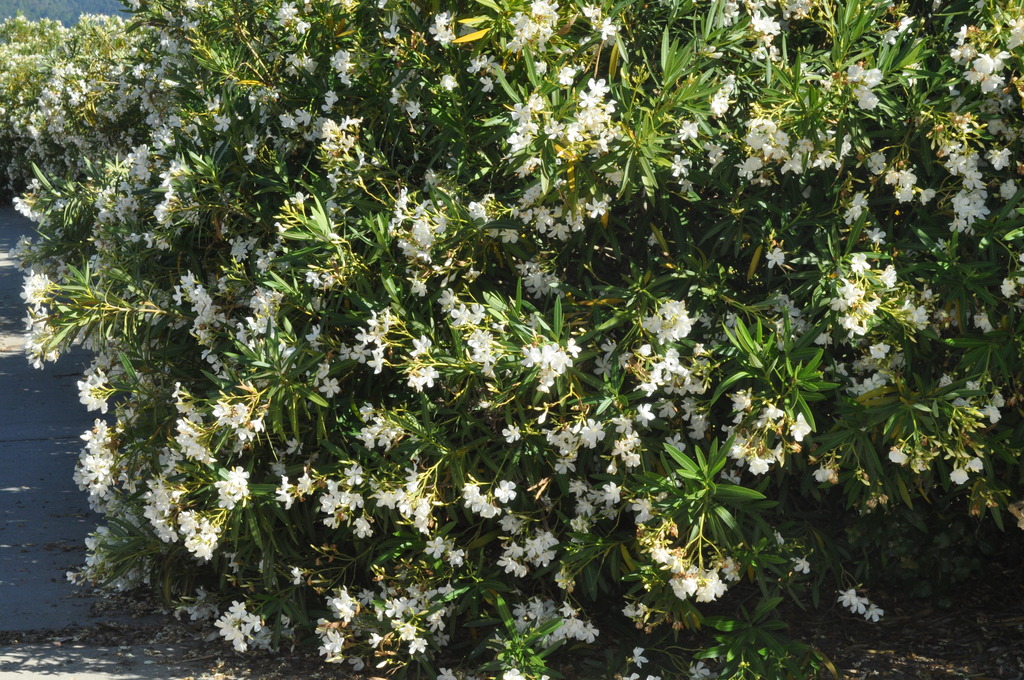
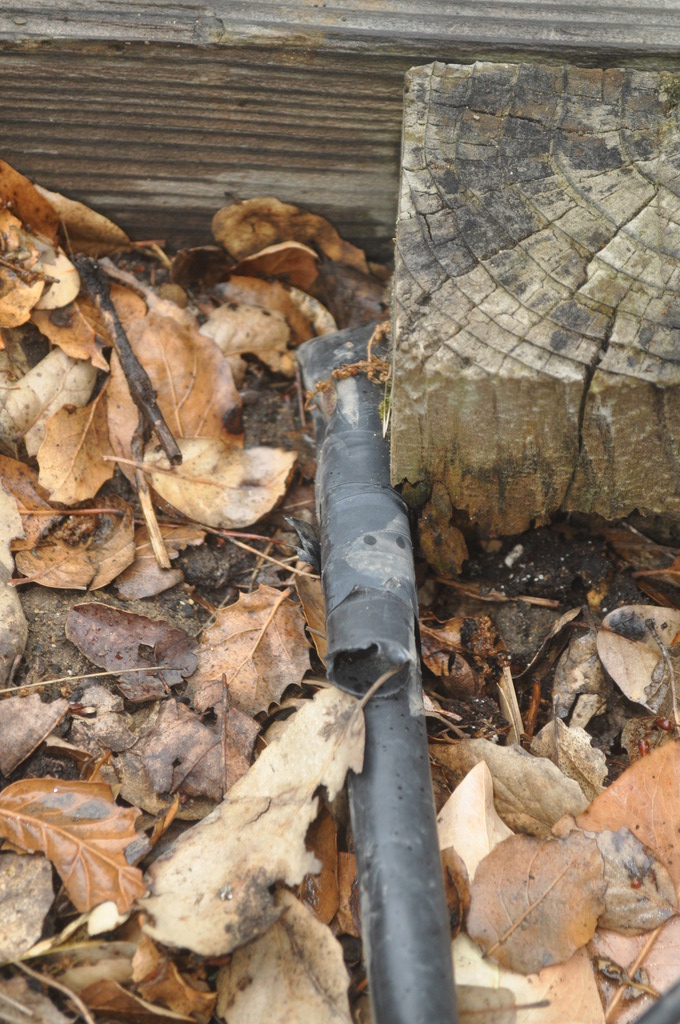
http://www1.picturepush.com/photo/a/13403769/img/13403769.jpg
Would you suggest I simply cut the elbow off and start fresh
by putting a garden-hose connection on a T fitting?
Note: The plants are tomatoes, which are just now sprouting,
so it has to be a gentle irrigation. I think a soaker hose may
be too heavy - but I'm not sure what my options are.
I am assuming that you only have a modest garden and you are on domestic
water mains.
The normal way of doing polypipe small scale irrigation is to have one
fitting connecting the black poly to either a standard garden hose or an
outside hose cock. From there everything is done in poly with push (bayonet
fittings) unless larger than 25mm (1") when you use fittings with a nut.
You run to your garden bed in 3/4" (19mm) or 1/2" (12mm) depending on the
length of run and flow required. Generally you would run this down one side
of the bed or both if it is wide. You then push either sprayers or
drippers into that line.
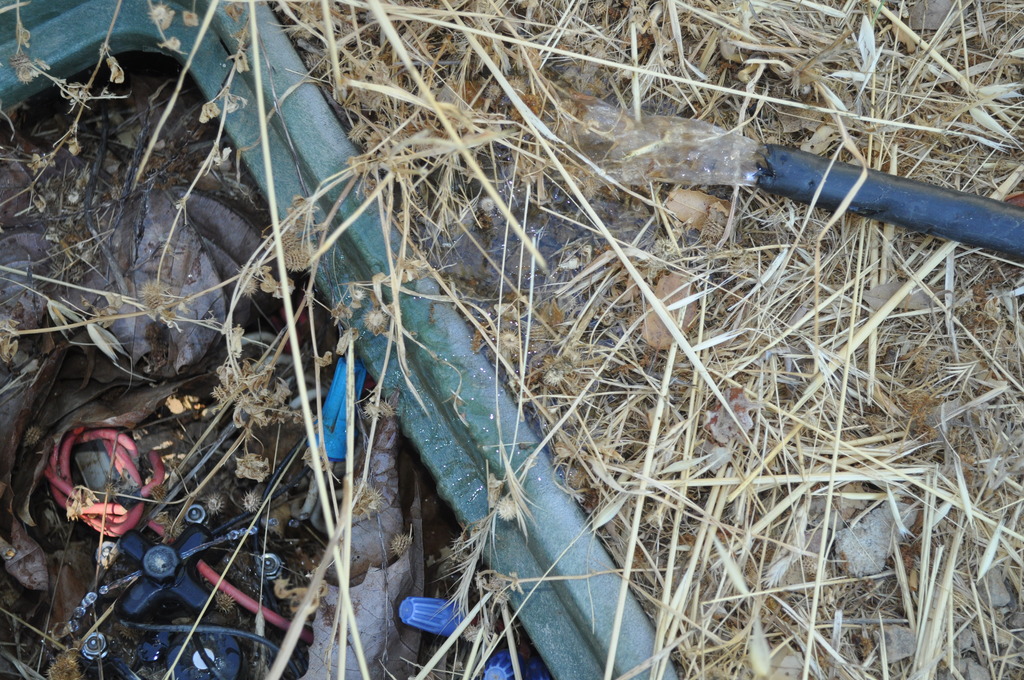
The thin tubes (about 1/4", 6mm) you have are risers to allow the main line
to be buried underground or under mulch, they are not really nesessary
otherwise but can off course be used to take a dripper or sprayer away from
the main pipe if you like. If using sprayers on the end of risers you can
have a problem with keeping the jet at the right direction because the riser
will bend and move all over the place unless fixed to a solid object. If
you push your jets straight into the pipe you don't have that issue because
it is more rigid. Drippers waste less water than sprayers but you need more
of them as they don't have much spread. Especially in sandy soil the water
from drippers goes down not outwards. It is usual to have a filter at the
start of the system to reduce the incidence of blocked jets.
Some specifics about your setup:
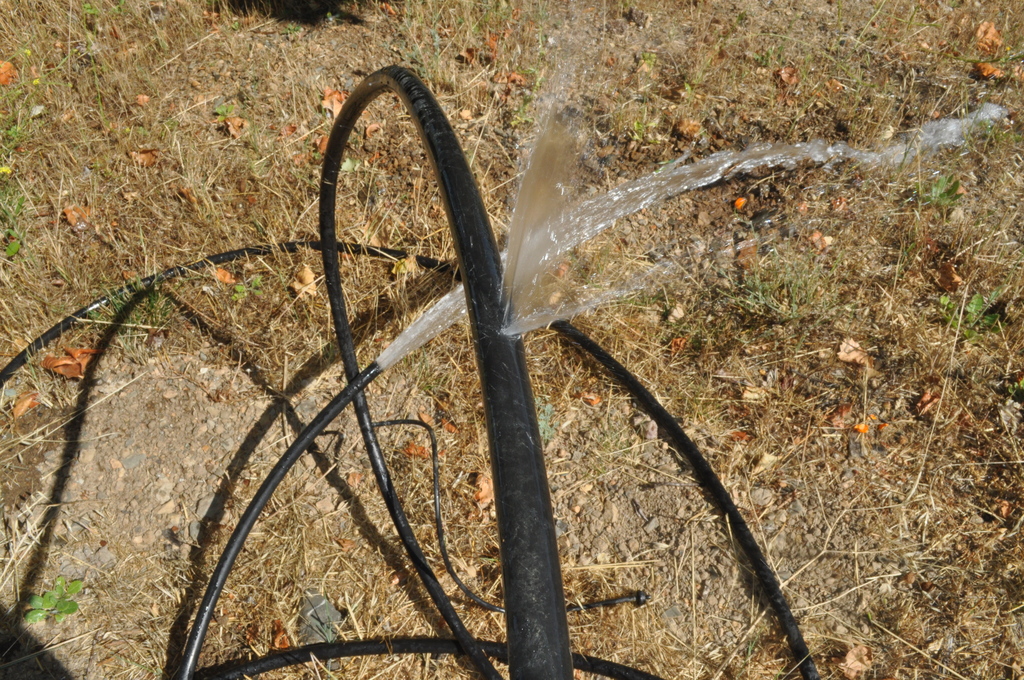
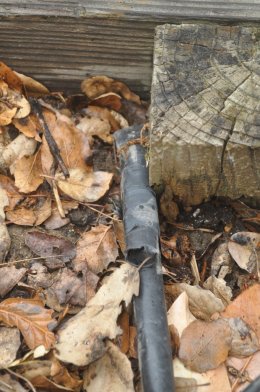
- It is usual to terminate an end by folding it over and fastening it
somehow (eg with wire), fancy fittings are not required, don't worry.
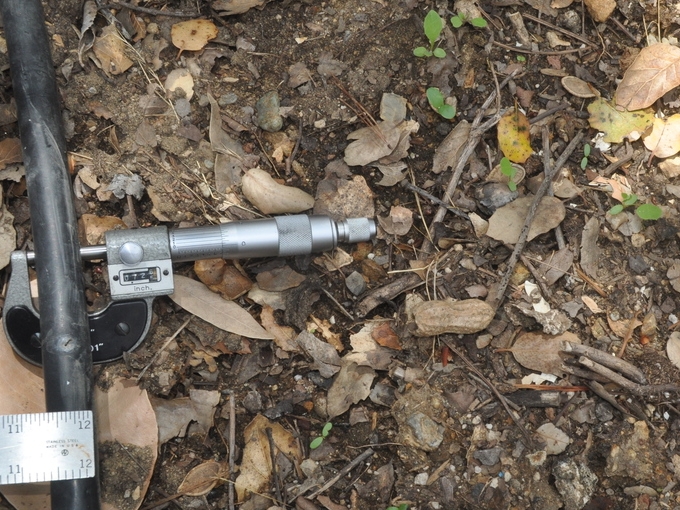
- With no scale I cannot tell for sure if you have 1/2" or 3/4", did you
measure it?
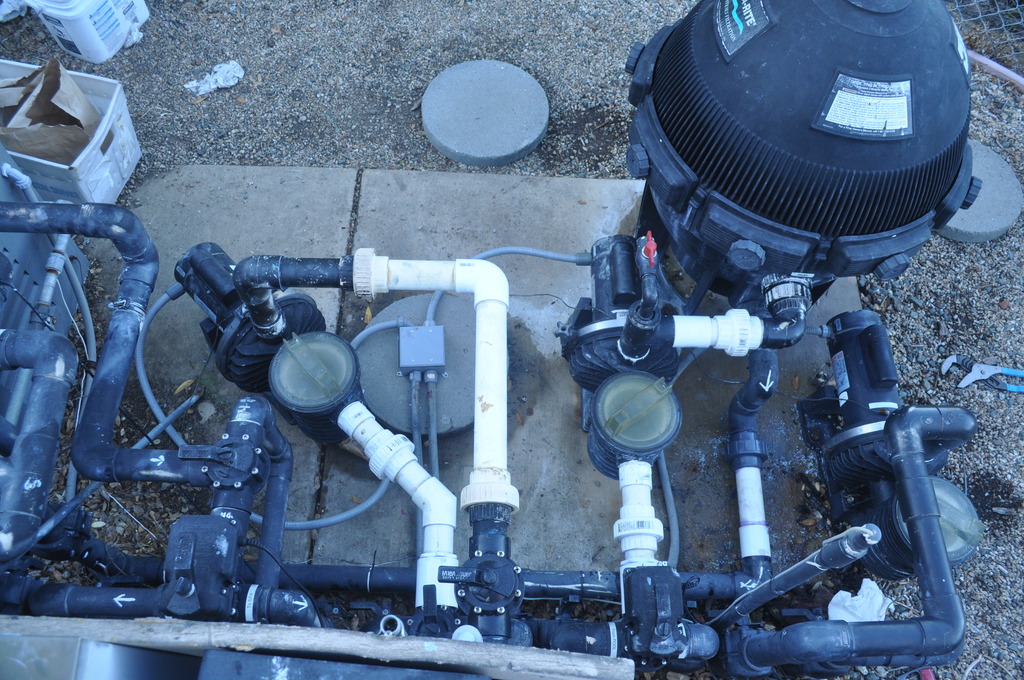
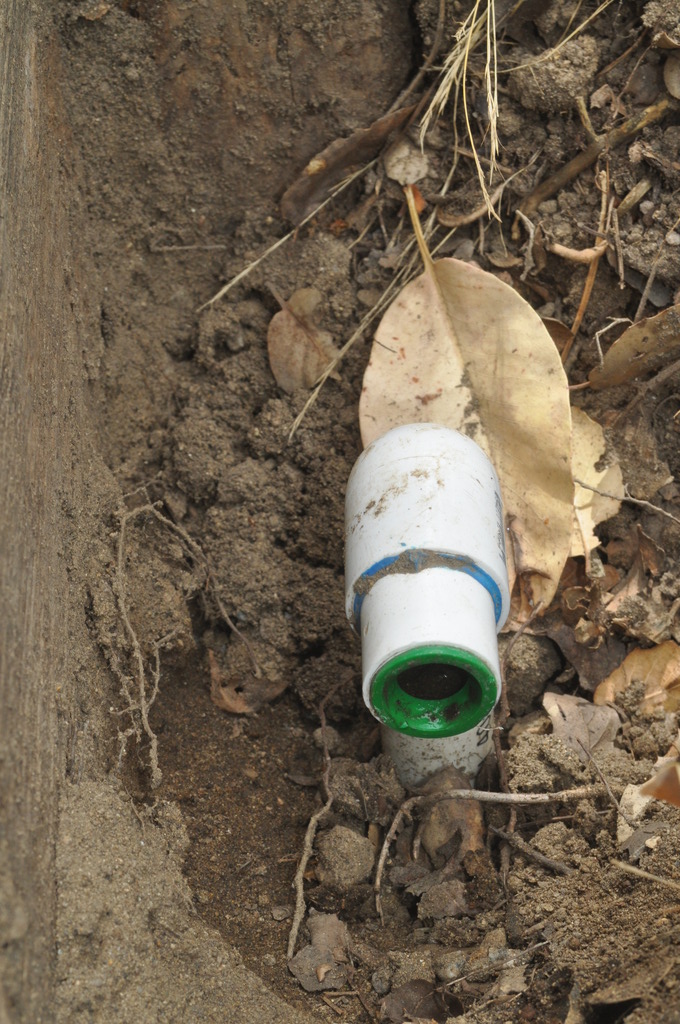
- The junction between the white supply line and black poly is unusual,
where the white tube first steps down it has been glued (the blue stuff is
glue) I cannot tell about where the black goes into the green tube, if you
cannot twist it at all or if you see a blue line round it then it has
probably been glued too. The fact that it needed to be stepped down twice
says to me either the underground pipe is much wider than required or you
have 1/2" poly coming out instead of 3/4", or both.
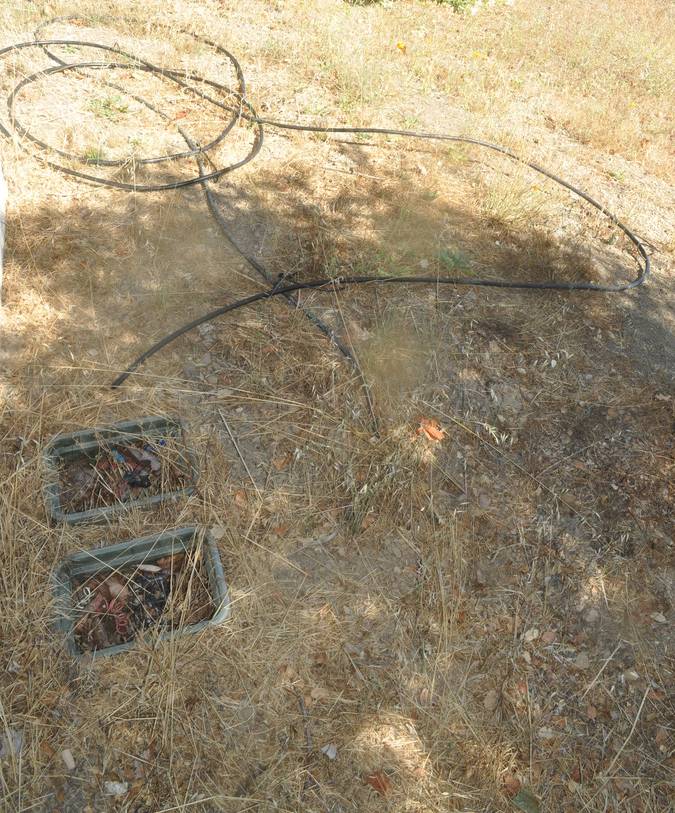
- You seem to have this white tube buried in a number of places, is it all
connected? To what? I don't know the retail prices where you are but here
that kind of tube and the fittings for it are much more expensive than black
poly and its fittings. I would be heading in the direction of doing most of
what you need above ground in black poly. Except for garden forks and lawn
mowers it is quite durable. I suspect you will not need very many of the
box of fittings. Maybe you can get a refund.
- Sprayers or drippers will both be gentle enough for seedlings.
I cannot advise on the best refurbishment as I don't know how big your
garden is or where the white supply line runs in relation to it. I suggest
you stop buying stuff and sit down and plan what you want to do and then buy
what you need. The manufacturers and vendors of black poly and fittings
often have info and plans on the web. Here is one from a TV garden show:
http://www.burkesbackyard.com.au/factsheets/Making-and-Mending/Do-It-Yourself-Irrigation/2194
David


)